

Charlotte has a birthday party on Sunday that I forgot about so this little birthday girl is getting an Elsa cape and a great Elsa necklace from my friend Sarah over at Chick Times Two. Sarah can put anything you want on a necklace!

Supplies
1.5 yards heavy glitter satin
1.5 yards sheer fabric
1 bottle silver glitter puffy paint
2 flower emblishments
velcro and thread (sewing machine)
lighter
Cape Directions
To make the cape took very little time. Cutting out the pattern was the hard part.
- Measure child to determine how long you want the cape to be. We wanted ours to drag on the ground.
- I layed out the heavy satin on the wood floor and carefully cut out a "cape" shape. The 1.5 yd should give you two capes, one on each side of the fold.
- I left about 6" at the top; this part you will use for the collar of the cape.
- Cut out a matching shape on the sheer fabric.
- You now have two layers for the cape.
- Lay out the sheer fabric on the floor. Put some wax paper or parchment paper under the fabric. The puffy paint leaks through and will stick to plain paper. You want to easily peel off the wax paper from the back after it dries.
- Look up some snowflake designs and draw to your heart's desire. Good luck! Let it dry overnight. (I did this part when the kids were in bed.)
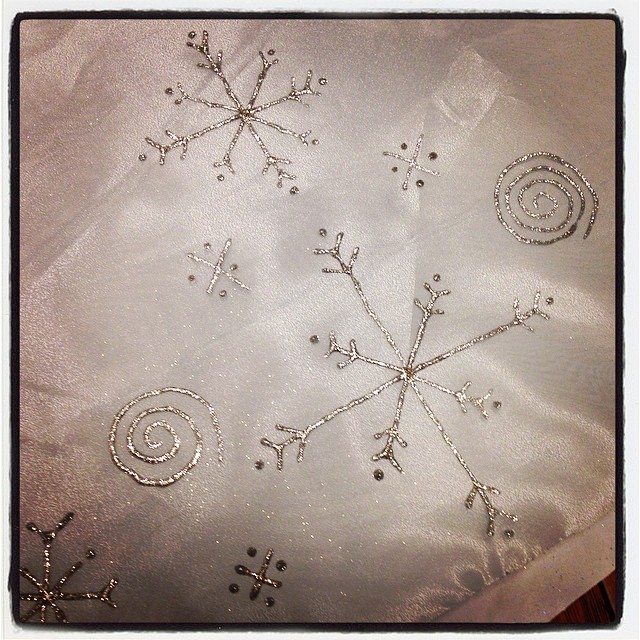
- After the layer is dry, take a flame to both layers of the cape. You are going to use a lighter and quickly burn the edge of the silks all the way around the cape. This prevents it from fraying and also you don't need to sew the edges. If you hold the flame too long, it will melt!
- Layer the two pieces with the sheer on top and pin at the top.
- You are going to cut the 6" of left over fabric and fold edges in and iron.
- Slip the cape top into the fold and stitch all the way around.
- Add velcro and a flower to the front of the cape.

2 comments:
Can you show a picture of how this is worn. It looks like it might feel kinda 'chokey' otherwise, so cute and looks easy
@Eddie - it might be a little chokey but there are a lot of little girls that wear it and I've never heard a one say anything. If you folded over the top, you could put in elastic and have it go around their chest and under armpits (more how she does wear it in the movie). Good luck! There should be a photo in the listing.
https://www.etsy.com/listing/189959768/princess-elsa-cape-dress-up-frozen-cape?ref=shop_home_active_12
Post a Comment