


The yellow bunny is what they look like. This is Charlotte's and his name is Rufus.
Fisher Price only made these for about 4 or 5 years. They run about $80-$100+ on eBay. Charlotte's is yellow because I made my mother replace the pink one when we could not locate the bunny in 2007 when I was married. Rufus has a special place in our hearts. Charlotte loves him more than anything and is usually seen tickling him around the house.
Unfortunately, he's not really replaceable without spending another fortune. We've found this to be troublesome when we've come close to losing him two or three times.
Most everybody knows I'm expecting and I came up with a fun project for myself. I decided to replicate Rufus by making a tickle bear for baby #2. Being a little smarter, I am making TWO of them, identical!
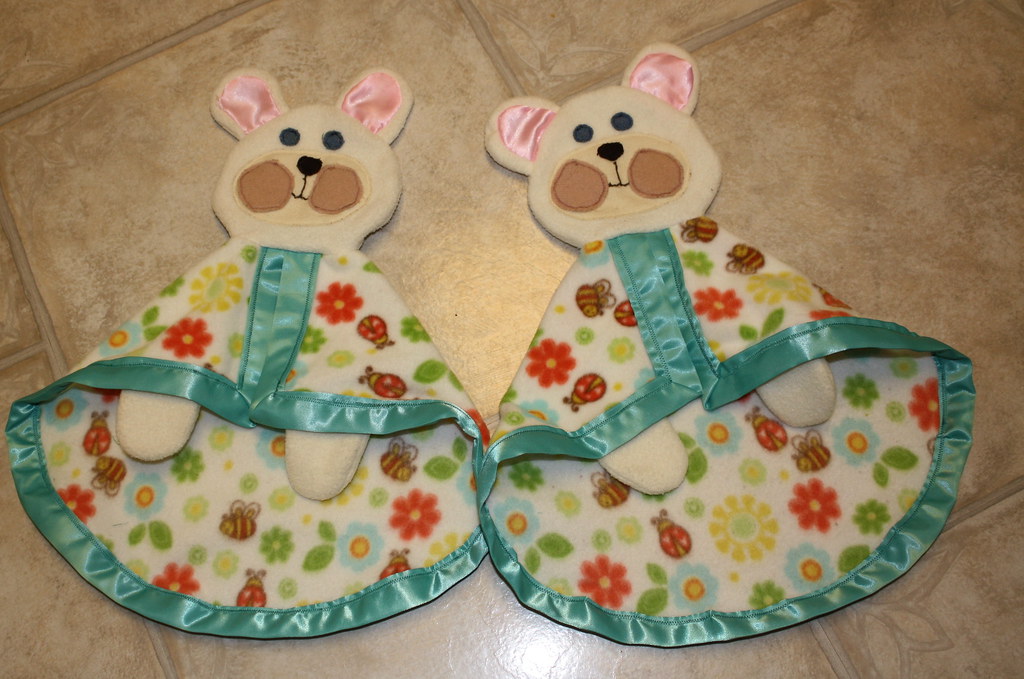
Here's the steps I've gone through and the final product. I am waiting to make the body of the bear until I know if we are having a boy or a girl. This way I can by more gender specific cuddle fleece.

I traced the head and made ears from the original bunny onto paper first.

Next I traced the pattern onto cream fleece and cut out ears, head and hands. Then I cut a piece of silk a little larger than the fleece piece to make the inside of the ears.

This was the hardest part. Take the 'outside' of the ear pattern (in fleece) and sew the silk ear piece to the fleece. You will need to cut the edges so you get it nice and round. Be sure to use a thinner needle with the silk fabric. This took me a couple tries to get right.

Final product should look something like this. The pink silk is the inside of the ear.

Lay the back fleece part of the ear, right sides together, on the newly made silk/fleece part of the ear and cut it out to have two matching ear pieces (for front and back).

Sew right sides together using a small stitch. Turn inside out and this should be the finished ear.
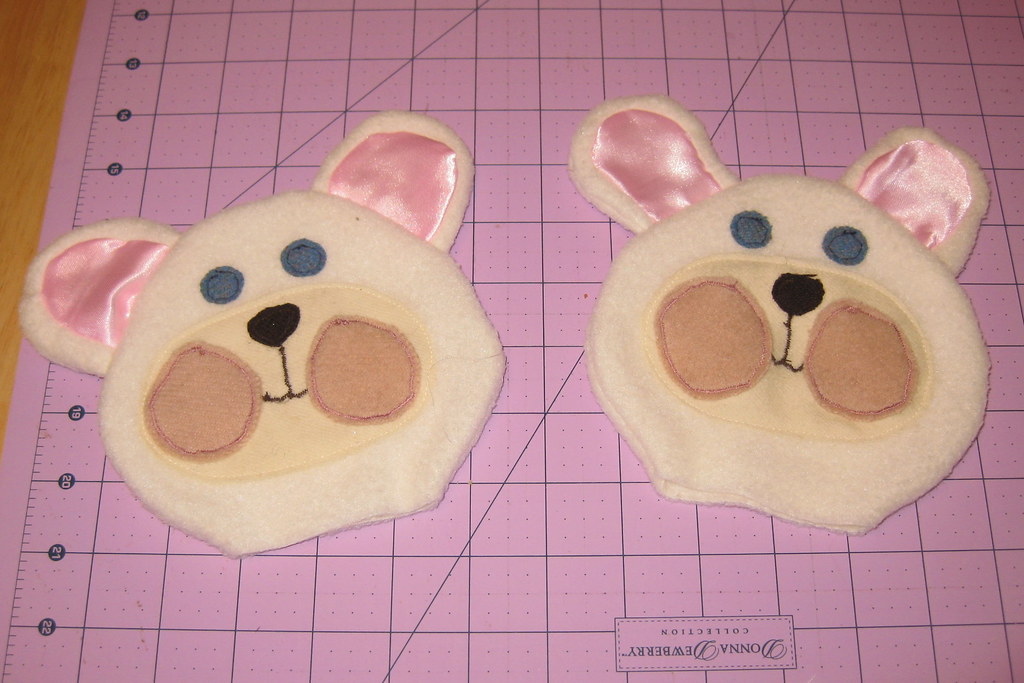
For the face parts I found some felted wool so everything remained soft. I also didn't want any parts that could fall off (like a button). I cut eyes, nose, pink cheeks and a white mouth piece. Identical sets. First I assembled the mouth and then the mouth onto the face. I used tight zig zag stitches and straight stitches. Click on the photo for a larger version. The brown mouth is a tight zig zag stitch.
Next be sure to place the ear correctly on the front of the face. Sew right sides together (head) and turn inside out. You have two identical heads!!
This is where I have to wait another 8 weeks to find out if we are having a boy or a girl. Then I can get some adorable fleece and assemble the body. (I already have the hands made.) This last part should be easy.
So if you are a die-hard tickle bunny fan since 1979, here's an easy way to replicate the Fisher Price bunny. I'm super excited with how it turned out. Charlotte even thinks she has "three" Rufus' now.
1 comment:
Wow is about all I can say! They look great!!
Post a Comment